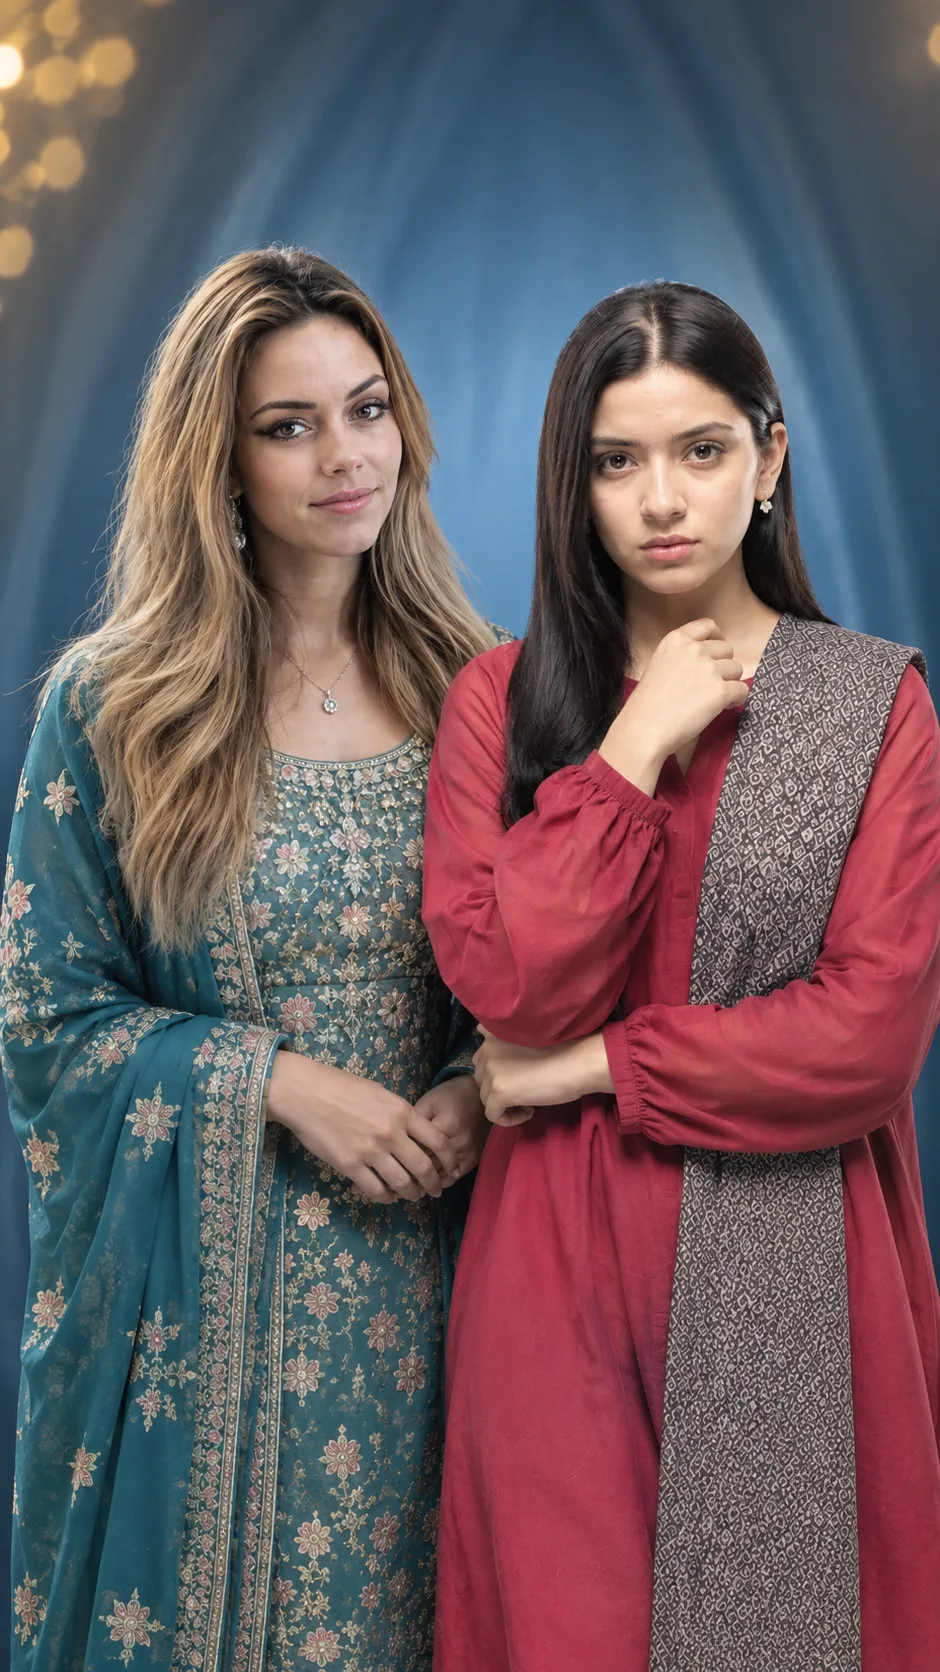
Traditional Twin Portrait in Blue Studio Lighting
Create a cinematic twin portrait with traditional South Asian outfits, cool blue drapery, soft studio light, and natural facial detail.
Using the uploaded photo, create a photorealistic waist-up portrait of the same person standing beside another young woman in a softly lit traditional studio portrait. KEEP - Keep the exact facial identity from the uploaded photo. Preserve forehead shape, eyebrow placement, eye shape and natural eye colour, nose structure, lips, cheeks, cheekbones, jawline, chin, ears, facial proportions, and natural facial asymmetry. Keep the original skin tone, visible pores, fine texture, natural marks, and realistic complexion. Keep the original hairline, hair density, hair texture, and recognizable hairstyle characteristics. Keep any facial hair exactly as shown in the uploaded photo. Keep natural body proportions, shoulder width, and the person's recognizable physical build. Do not reshape or beautify the face. CHANGE - Dress the uploaded person in a muted teal traditional South Asian outfit made from heavily embroidered fabric with pale grey and floral detailing. Add small traditional earrings and a delicate necklace. Place a second young woman beside them wearing a deep rose-red long-sleeve outfit with a grey geometric-patterned front panel and small earrings. Position both women close together, with the second woman slightly forward and one hand resting near her upper chest. Set the lighting and background to match the cool studio portrait style. SCENE - Place both subjects indoors against a tall blue-grey draped backdrop with curved vertical folds. Add a few soft warm circular highlights in the upper-left background. Keep the fabric backdrop noticeably blurred behind the women while both faces remain sharply detailed. LIGHT - Use broad, diffused frontal light positioned slightly above eye level, with a cool 5000K tone from the blue backdrop and gentle warm highlights in the upper-left. Keep shadows soft beneath the chin and nose so the face remains naturally integrated. CAMERA - Use an 85mm lens at f/2.8, camera at eye level, with waist-up framing. Use moderate telephoto compression and shallow depth of field while keeping both faces sharp. GRADE - Apply cool blue-grey background tones, natural warm skin tones, muted teal, pale grey, and deep rose-red clothing. Keep contrast gentle, blacks slightly lifted, and skin texture realistic. OUTPUT - Use a 9:6 square aspect ratio at 4K resolution, with balanced spacing around both subjects. DO-NOT - No face slimming, no skin whitening, no changed eye colour, no plastic smoothing, no invented jewellery or tattoos.
Photo Guide
- Use a sharp, high-resolution face photo with visible facial details.
- Choose an eye-level front or three-quarter angle without heavy perspective.
- Use soft, even light so the face blends with the cool studio lighting.
- Keep the forehead, hairline, eyes, jawline, and ears clearly visible.
- A clean indoor reference suits this blue draped studio look better than harsh sunlight.
- Avoid beauty filters because they can erase the pores and facial structure.
How to Build
- 1Open Gemini and upload the clearest reference photo.
- 2Set the image aspect ratio to 1:1 before generating.
- 3Paste the complete prompt without removing the KEEP section.
- 4Use the highest available image quality or resolution setting.
- 5Check both faces for sharp eyes, natural skin, and correct proportions.
- 6If the first result drifts, regenerate with the same reference and prompt.
Pro Tips
- Keep both eyes visible so the original eye shape stays consistent.
- Use a neutral expression reference so the generated pose remains natural.
- Keep the hairline unobstructed so the hairstyle does not alter facial identity.
- Avoid strong side lighting because it conflicts with the soft blue studio setup.
- Use a sharp reference so skin texture survives the portrait rendering.
Share This Prompt
About the Author
Naziya
Creative AI writer at MFDA, sharing trendy photo-editing prompts and fresh ideas for beautiful, stylish AI images.