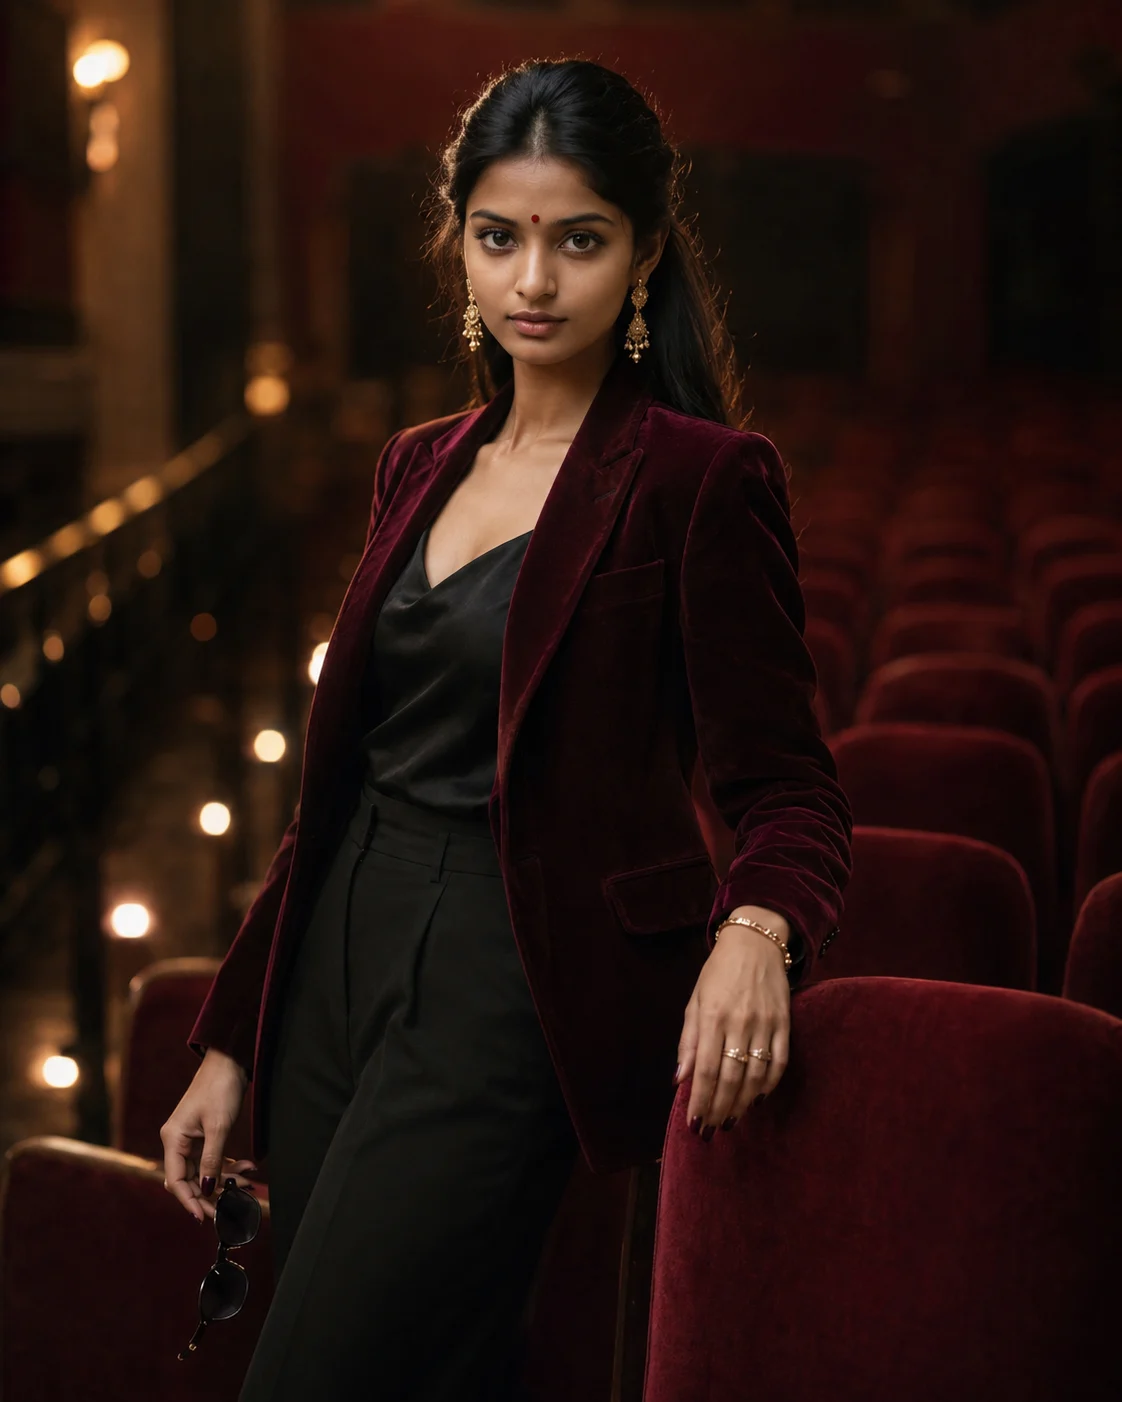
Red Velvet Cinema Fashion Portrait
Create a cinematic red-velvet cinema portrait while preserving your real face, body proportions, hairline, and natural skin texture.
Using the uploaded photo, create a photorealistic red velvet cinema fashion portrait of the same person. KEEP — Keep the exact face structure, facial proportions, eye shape and eye colour from the uploaded photo. Keep the natural skin tone, pores, fine texture, facial marks, hairline, and any existing facial hair unchanged. Keep the person’s real body proportions, shoulder width, height relationship, and recognizable identity. Do not reshape the jaw, nose, lips, cheeks, forehead, or eyes. Preserve the person’s actual hairline and natural hair density. CHANGE — Change the wardrobe to a fitted deep-burgundy velvet blazer over a black silk top, with wide-leg black trousers. Add [gold drop earrings, slim bracelet, stacked rings] and [dark cherry manicure]. Change the pose so the person stands in a vintage cinema aisle, with one hand resting naturally on the back of a burgundy velvet seat and the other holding [black sunglasses]. Change the expression to calm and cinematic while keeping the person recognizable. Change the setting, lighting, colour grade, and wardrobe only. SCENE — Place the subject inside a classic vintage cinema at night, surrounded by rows of burgundy velvet seats. Use dark walls, narrow dim aisle lights, and subtle warm architectural highlights. Keep the cinema seats and background strongly blurred so the subject remains the visual focus. LIGHT — Use one large, soft directional key light from the upper front-left, illuminating the same side of the face naturally. Add a very subtle warm rim light from behind to separate the hair and shoulders. Keep shadows deep but preserve facial detail. Avoid lighting that looks like direct flash. CAMERA — Use an 85mm lens look at f/1.8, positioned at chest height. Use shallow depth of field with sharp eyes, realistic facial detail, and smooth optical background compression. GRADE — Apply a restrained burgundy-and-black cinematic grade with warm golden highlights, controlled contrast, deep shadows, and subtle analog film grain. Keep skin tones natural rather than red. OUTPUT — Create a vertical 4:5 portrait at 2048 × 2560 pixels, with a three-quarter body composition. DO-NOT — no face slimming, no skin whitening, no changed eye colour, no plastic smoothing, no invented jewellery or tattoos, no altered facial structure, no extra fingers, no warped hands, no text or logos.
Photo Guide
- Use a sharp photo of at least 1200px on the longest side.
- A front or slight three-quarter face angle works best for this look.
- Use even indoor light so the face details remain clear.
- Keep the full hairline, eyes, jawline, and shoulders visible.
- A clean face photo blends better than one with strong red lighting.
- Avoid sunglasses covering the eyes in the uploaded photo.
How to Build
- 1Open Gemini and choose image generation with your uploaded photo.
- 2Upload one clear face photo with the full face and hairline visible.
- 3Paste the full prompt without removing the KEEP or CHANGE sections.
- 4Set output to a vertical 4:5 composition at the highest resolution.
- 5Check that the face matches before judging the cinema styling.
- 6If the first result drifts, regenerate using the same photo and prompt.
Pro Tips
- Use a photo with visible eyes so the 85mm portrait stays recognizable.
- Choose neutral clothing in the source photo so wardrobe replacement is cleaner.
- Keep the face evenly exposed so the cinema shadows do not swallow features.
- Use a natural expression so the calm editorial pose feels believable.
- Avoid red-lit source photos so the skin tone does not shift toward burgundy.
Share This Prompt
About the Author
Naziya
Creative AI writer at MFDA, sharing trendy photo-editing prompts and fresh ideas for beautiful, stylish AI images.