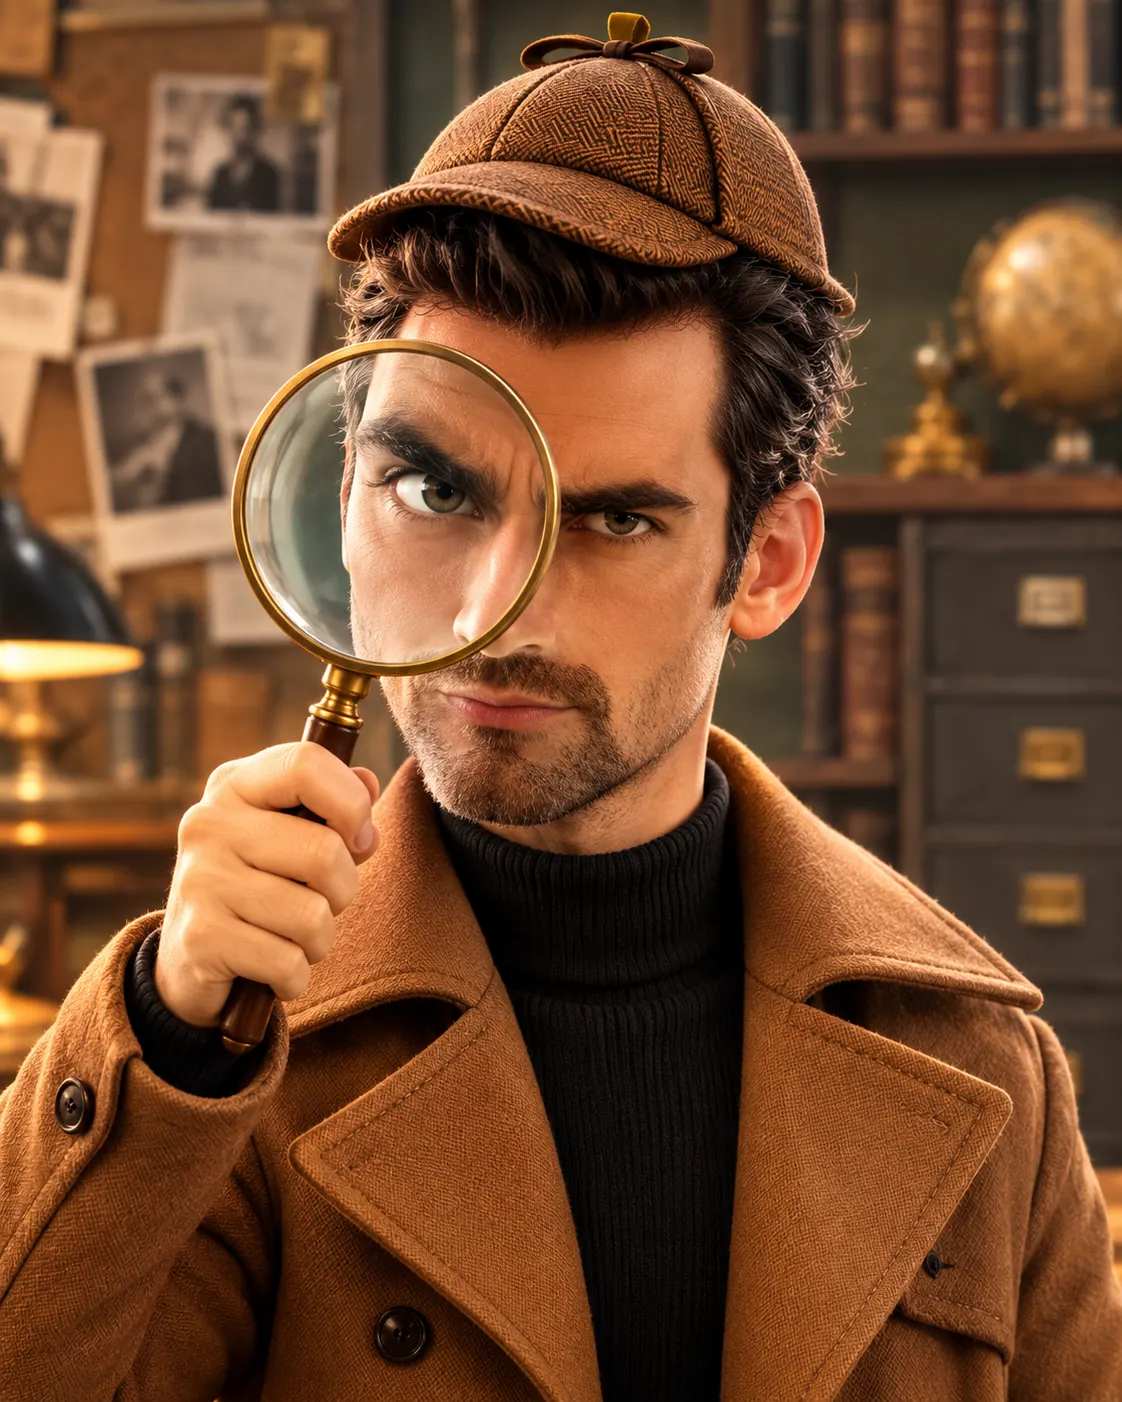
Funny 3D Detective Character Portrait with Magnifying Glass
Turn your photo into a funny 3D animated detective with oversized curious eyes, vintage styling and a giant magnifying glass while preserving your identity.
Using the uploaded photo, create a humorous 3D animated detective character portrait of the same recognizable person, designed like a character from a high-quality animated mystery film. KEEP — Preserve the person's exact facial identity and original facial geometry. Retain the forehead height, facial width, eyebrow shape and natural placement, original eye shape and colour, nose bridge and tip, lip contours, cheek volume, cheekbones, jawline, chin, ears and natural facial asymmetry. Maintain the original skin tone, pores, freckles, marks and realistic skin texture. Keep the original hairline, hairstyle, hair density, individual hair texture and natural hair colour. Preserve existing facial hair, if present, without adding or removing it. Maintain the person's natural neck, shoulders and body proportions. Do not replace the face with a generic cartoon identity. CHANGE — Transform the proportions into a playful animated detective design with an oversized rounded head, enlarged expressive eyes, tiny pupils, one dramatically raised eyebrow and a small button-like nose. Keep the original facial structure recognizable beneath the stylization. Change the clothing to an oversized camel-brown wool trench coat with visible lapels, realistic stitched seams and a fitted black ribbed turtleneck. Add a miniature vintage brown detective cap positioned above the forehead without covering the original hairline. Introduce an oversized brass-rimmed magnifying glass with a clear convex lens. SCENE — Position the character inside a vintage detective investigation office during late afternoon. Place a softly blurred dark wooden bookshelf, antique filing drawers and a few pinned investigation photographs in the background. Keep all background details secondary to the face. LIGHT — Use a large softbox positioned 45 degrees to the upper left, with gentle warm illumination at approximately 4000K. Add subtle frontal fill to retain natural facial detail and realistic reflections in the magnifying glass. CAMERA — Use an 85mm portrait lens at f/2.0, positioned at eye level and chest height framing. Keep the face sharply focused, with the enlarged eye behind the magnifying glass remaining clearly visible. GRADE — Apply muted olive-brown tones, warm amber highlights, controlled shadows and soft cinematic contrast. Use a matte 3D finish with detailed wool fibers, natural hair strands and subtle skin texture. OUTPUT — Vertical 4:5 composition, 1024 × 1280 resolution, centered chest-up portrait, with the complete detective cap and magnifying glass inside the frame. DO NOT — Slim the face, whiten the skin, change eye colour, alter facial proportions, remove natural marks, add plastic skin smoothing, invent jewellery or tattoos, hide the original hairline, or introduce text, watermarks or logos.
Photo Guide
- Use a sharp, high-resolution photo with clearly visible facial details.
- Choose a front-facing or slightly turned portrait at eye level.
- Use soft, even lighting so the original skin texture remains visible.
- Keep the forehead, hairline, eyebrows and ears clearly visible.
- Choose a photo with the hairstyle unobstructed by hats or accessories.
- A hidden hairline or oversized existing headwear can ruin the detective-cap fit.
How to Build
- 1Open Gemini or ChatGPT and select the image generation feature.
- 2Upload one clear portrait photo as the identity reference.
- 3Paste the complete prompt into the image generation input.
- 4Choose 4:5 portrait aspect ratio and 1024 × 1280 output.
- 5Enable reference-image or character consistency if available.
- 6Generate the portrait and compare facial details with the source.
- 7If the face drifts, regenerate using the original photo and reinforce KEEP.
Pro Tips
- Choose a photo with visible eyebrows so the raised expression stays recognizable.
- Keep the original hairline exposed so the detective cap does not alter the hairstyle.
- Use a front-facing portrait so the magnified eye remains correctly positioned.
- Avoid dark glasses in the source photo so the original eye shape stays accurate.
- Keep the magnifying glass beside one eye rather than over the entire face.
- Use a neutral expression in the source so the detective's suspicious look renders cleanly.
Share This Prompt
About the Author
Naziya
Creative AI writer at MFDA, sharing trendy photo-editing prompts and fresh ideas for beautiful, stylish AI images.